In questo tutorial ti andrò a spiegare come creare un Token su Ethereum in un’ora, cosi che tu lo possa usare per i tuoi progetti.
Il token sarà uno standard ERC20, significa che fisserai una quantità di token da creare e non avranno regole particolari. Ti mostrerò anche come farlo verificare per farlo diventare legittimo.
Leggi anche: Come creare un token su Ethereum in 20 minuti
Iniziamo senza indugio.
Step 1: Decidi come dovrà essere il tuo token
Per creare un token ERC20 hai bisogno delle seguenti informazioni:
- Il nome del token
- Il simbolo del token
- I decimali del token
- Il numero di token in circolazione
Per questo esempio lo chiameremo tokenesempio:
- Nome: tokenesempio
- Simbolo: ???
- Decimali: 0
- Quantità di token in circolazione: 100,000
Molti token hanno 18 decimali, ciò significa che puoi avere fino a .0000000000000000001 token.
Quando crei il token, devi sapere quanti decimali vuoi mettere pensando a come influiscono nel quadro più ampio del tuo progetto.
Per questo esempio, l’ho fatto molto semplice cosi che le persone avessero un token o nessuno. Ma puoi scegliere 1 se vuoi che le persone possano avere mezzo token, o 18 se vuoi farlo standard.
Leggi anche: Solidity: la guida definitiva
Step 2: Codifica il contratto
Ecco il contratto che puoi essenzialmente copiare e incollare per creare il tuo token ERC20. Il codice sorgente è di Tokenfactory.
pragma solidity ^0.4.4;

  contract Token {

    /// @return total amount of tokens
    function totalSupply() constant returns (uint256 supply) {}

    /// @param _owner The address from which the balance will be retrieved
    /// @return The balance
    function balanceOf(address _owner) constant returns (uint256 balance) {}

    /// @notice send `_value` token to `_to` from `msg.sender`
    /// @param _to The address of the recipient
    /// @param _value The amount of token to be transferred
    /// @return Whether the transfer was successful or not
    function transfer(address _to, uint256 _value) returns (bool success) {}

    /// @notice send `_value` token to `_to` from `_from` on the condition it is approved by `_from`
    /// @param _from The address of the sender
    /// @param _to The address of the recipient
    /// @param _value The amount of token to be transferred
    /// @return Whether the transfer was successful or not
    function transferFrom(address _from, address _to, uint256 _value) returns (bool success) {}

    /// @notice `msg.sender` approves `_addr` to spend `_value` tokens
    /// @param _spender The address of the account able to transfer the tokens
    /// @param _value The amount of wei to be approved for transfer
    /// @return Whether the approval was successful or not
    function approve(address _spender, uint256 _value) returns (bool success) {}

    /// @param _owner The address of the account owning tokens
    /// @param _spender The address of the account able to transfer the tokens
    /// @return Amount of remaining tokens allowed to spent
    function allowance(address _owner, address _spender) constant returns (uint256 remaining) {}

    event Transfer(address indexed _from, address indexed _to, uint256 _value);
    event Approval(address indexed _owner, address indexed _spender, uint256 _value);
  }


  contract StandardToken is Token {

    function transfer(address _to, uint256 _value) returns (bool success) {
      //Default assumes totalSupply can't be over max (2^256 - 1).
      //If your token leaves out totalSupply and can issue more tokens as time goes on, you need to check if it doesn't wrap.
      //Replace the if with this one instead.
      //if (balances[msg.sender] >= _value && balances[_to] + _value > balances[_to]) {
      if (balances[msg.sender] >= _value && _value > 0) {
        balances[msg.sender] -= _value;
        balances[_to] += _value;
        Transfer(msg.sender, _to, _value);
        return true;
      } else { return false; }
    }

    function transferFrom(address _from, address _to, uint256 _value) returns (bool success) {
      //same as above. Replace this line with the following if you want to protect against wrapping uints.
      //if (balances[_from] >= _value && allowed[_from][msg.sender] >= _value && balances[_to] + _value > balances[_to]) {
      if (balances[_from] >= _value && allowed[_from][msg.sender] >= _value && _value > 0) {
        balances[_to] += _value;
        balances[_from] -= _value;
        allowed[_from][msg.sender] -= _value;
        Transfer(_from, _to, _value);
        return true;
      } else { return false; }
    }

    function balanceOf(address _owner) constant returns (uint256 balance) {
      return balances[_owner];
    }

    function approve(address _spender, uint256 _value) returns (bool success) {
      allowed[msg.sender][_spender] = _value;
      Approval(msg.sender, _spender, _value);
      return true;
    }

    function allowance(address _owner, address _spender) constant returns (uint256 remaining) {
      return allowed[_owner][_spender];
    }

    mapping (address => uint256) balances;
    mapping (address => mapping (address => uint256)) allowed;
    uint256 public totalSupply;
  }


  //name this contract whatever you'd like
  contract ERC20Token is StandardToken {

    function () {
      //if ether is sent to this address, send it back.
      throw;
    }

    /* Public variables of the token */

    /*
    NOTE:
    The following variables are OPTIONAL vanities. One does not have to include them.
    They allow one to customise the token contract & in no way influences the core functionality.
    Some wallets/interfaces might not even bother to look at this information.
    */
    string public name;                   //fancy name: eg Simon Bucks
    uint8 public decimals;                //How many decimals to show. ie. There could 1000 base units with 3 decimals. Meaning 0.980 SBX = 980 base units. It's like comparing 1 wei to 1 ether.
    string public symbol;                 //An identifier: eg SBX
    string public version = 'H1.0';       //human 0.1 standard. Just an arbitrary versioning scheme.

  //
  // CHANGE THESE VALUES FOR YOUR TOKEN
  //

  //make sure this function name matches the contract name above. So if you're token is called TutorialToken, make sure the
  //contract name above is also TutorialToken instead of ERC20Token

    function ERC20Token() {
      balances[msg.sender] = NUMBER_OF_TOKENS_HERE;               // Give the creator all initial tokens (100000 for example)
      totalSupply = NUMBER_OF_TOKENS_HERE;                        // Update total supply (100000 for example)
      name = "NAME OF YOUR TOKEN HERE";                                   // Set the name for display purposes
      decimals = 0;                            // Amount of decimals for display purposes
      symbol = "SYM";                               // Set the symbol for display purposes
    }

    /* Approves and then calls the receiving contract */
    function approveAndCall(address _spender, uint256 _value, bytes _extraData) returns (bool success) {
      allowed[msg.sender][_spender] = _value;
      Approval(msg.sender, _spender, _value);

      //call the receiveApproval function on the contract you want to be notified. This crafts the function signature manually so one doesn't have to include a contract in here just for this.
      //receiveApproval(address _from, uint256 _value, address _tokenContract, bytes _extraData)
      //it is assumed that when does this that the call *should* succeed, otherwise one would use vanilla approve instead.
      if(!_spender.call(bytes4(bytes32(sha3("receiveApproval(address,uint256,address,bytes)"))), msg.sender, _value, this, _extraData)) { throw; }
      return true;
    }
  }
Copia questo nel tuo editor di testo preferito, nel mio caso Sublime.
Devi cambiare tutte le aree dove dice “CHANGE THESE VARIABLES FOR YOUR TOKEN”.
Quindi significa cambiare:
- Il nome del token
- Il simbolo del token (non più di 4 caratteri)
- I decimali del token
- Con quanti token vuoi iniziare come possessore
- Quanti token mettere in circolazione (per non sbagliare, metti lo stesso numero del possessore)
Alcune cose da tenere a mente:
- La quantità che inserisci per il token è correlata al numero di decimali che metti.
Ad esempio se vuoi 10 token di un token che ha 0 decimali, allora i token iniziali devono essere 100.
Ma se vuoi un token con 18 decimali e ne vuoi 100, allora i token iniziali devono essere 100000000000000000000 (18 zeri aggiunti alla quantità).
- Imposti tu la quantità di token che ricevi come creatore del contratto
Questa linea di codice serve a questo:
balances[msg.sender] = NUMBER_OF_TOKENS_HERE;
Qualunque cosa imposti qui verrà inviato al wallet ethereum del possessore del contratto. Ci arriveremo tra poco
Ma per adesso impostalo uguale alla fornitura iniziale cosi che tu riceva tutti i token. Se vuoi puoi impostare regole differenti, come ad esempio i fondatori differenti del progetto che ricevono quantità differenti o qualcosa del genere.
Una volta scelte tutte le variabili, è ora di far partire il codice sulla blockchain e testarlo
Step 3: Testa il token su TestNet
Adesso andremo a testare il contratto su Testnet per vedere se funziona. E’ sicuramente meglio che metterlo nella rete principale, pagare e poi vedere che non funziona.
Per prima cosa se non l’hai già fatto, scarica MetaMask. Hanno un’interfaccia facile da usare per questo test.
Una volta che hai istallato Metamask, loggati e poi impostalo su Ropsten test network. Se clicchi in alto a sinistra dove dice Main ethereum network puoi cambiarlo con Ropsten.
Per conferma, la parte superiore della finestra di Metamask dovrebbe essere cosi

Questo wallet sarà il possessore del contratto, quindi non perdere il wallet, se non vuoi usare metamask, puoi usare mist o myetherwallet per creare i contratti. Ti raccomando Metamask per la sua semplicità e perché puoi sempre esportare la tua private key su Myetherwaller per usarla in futuro.
Adesso vai su Solidity Remix Compiler e’ un compilatore online che ti permette di pubblicare degli smart contract direttamente sulla blockchain.
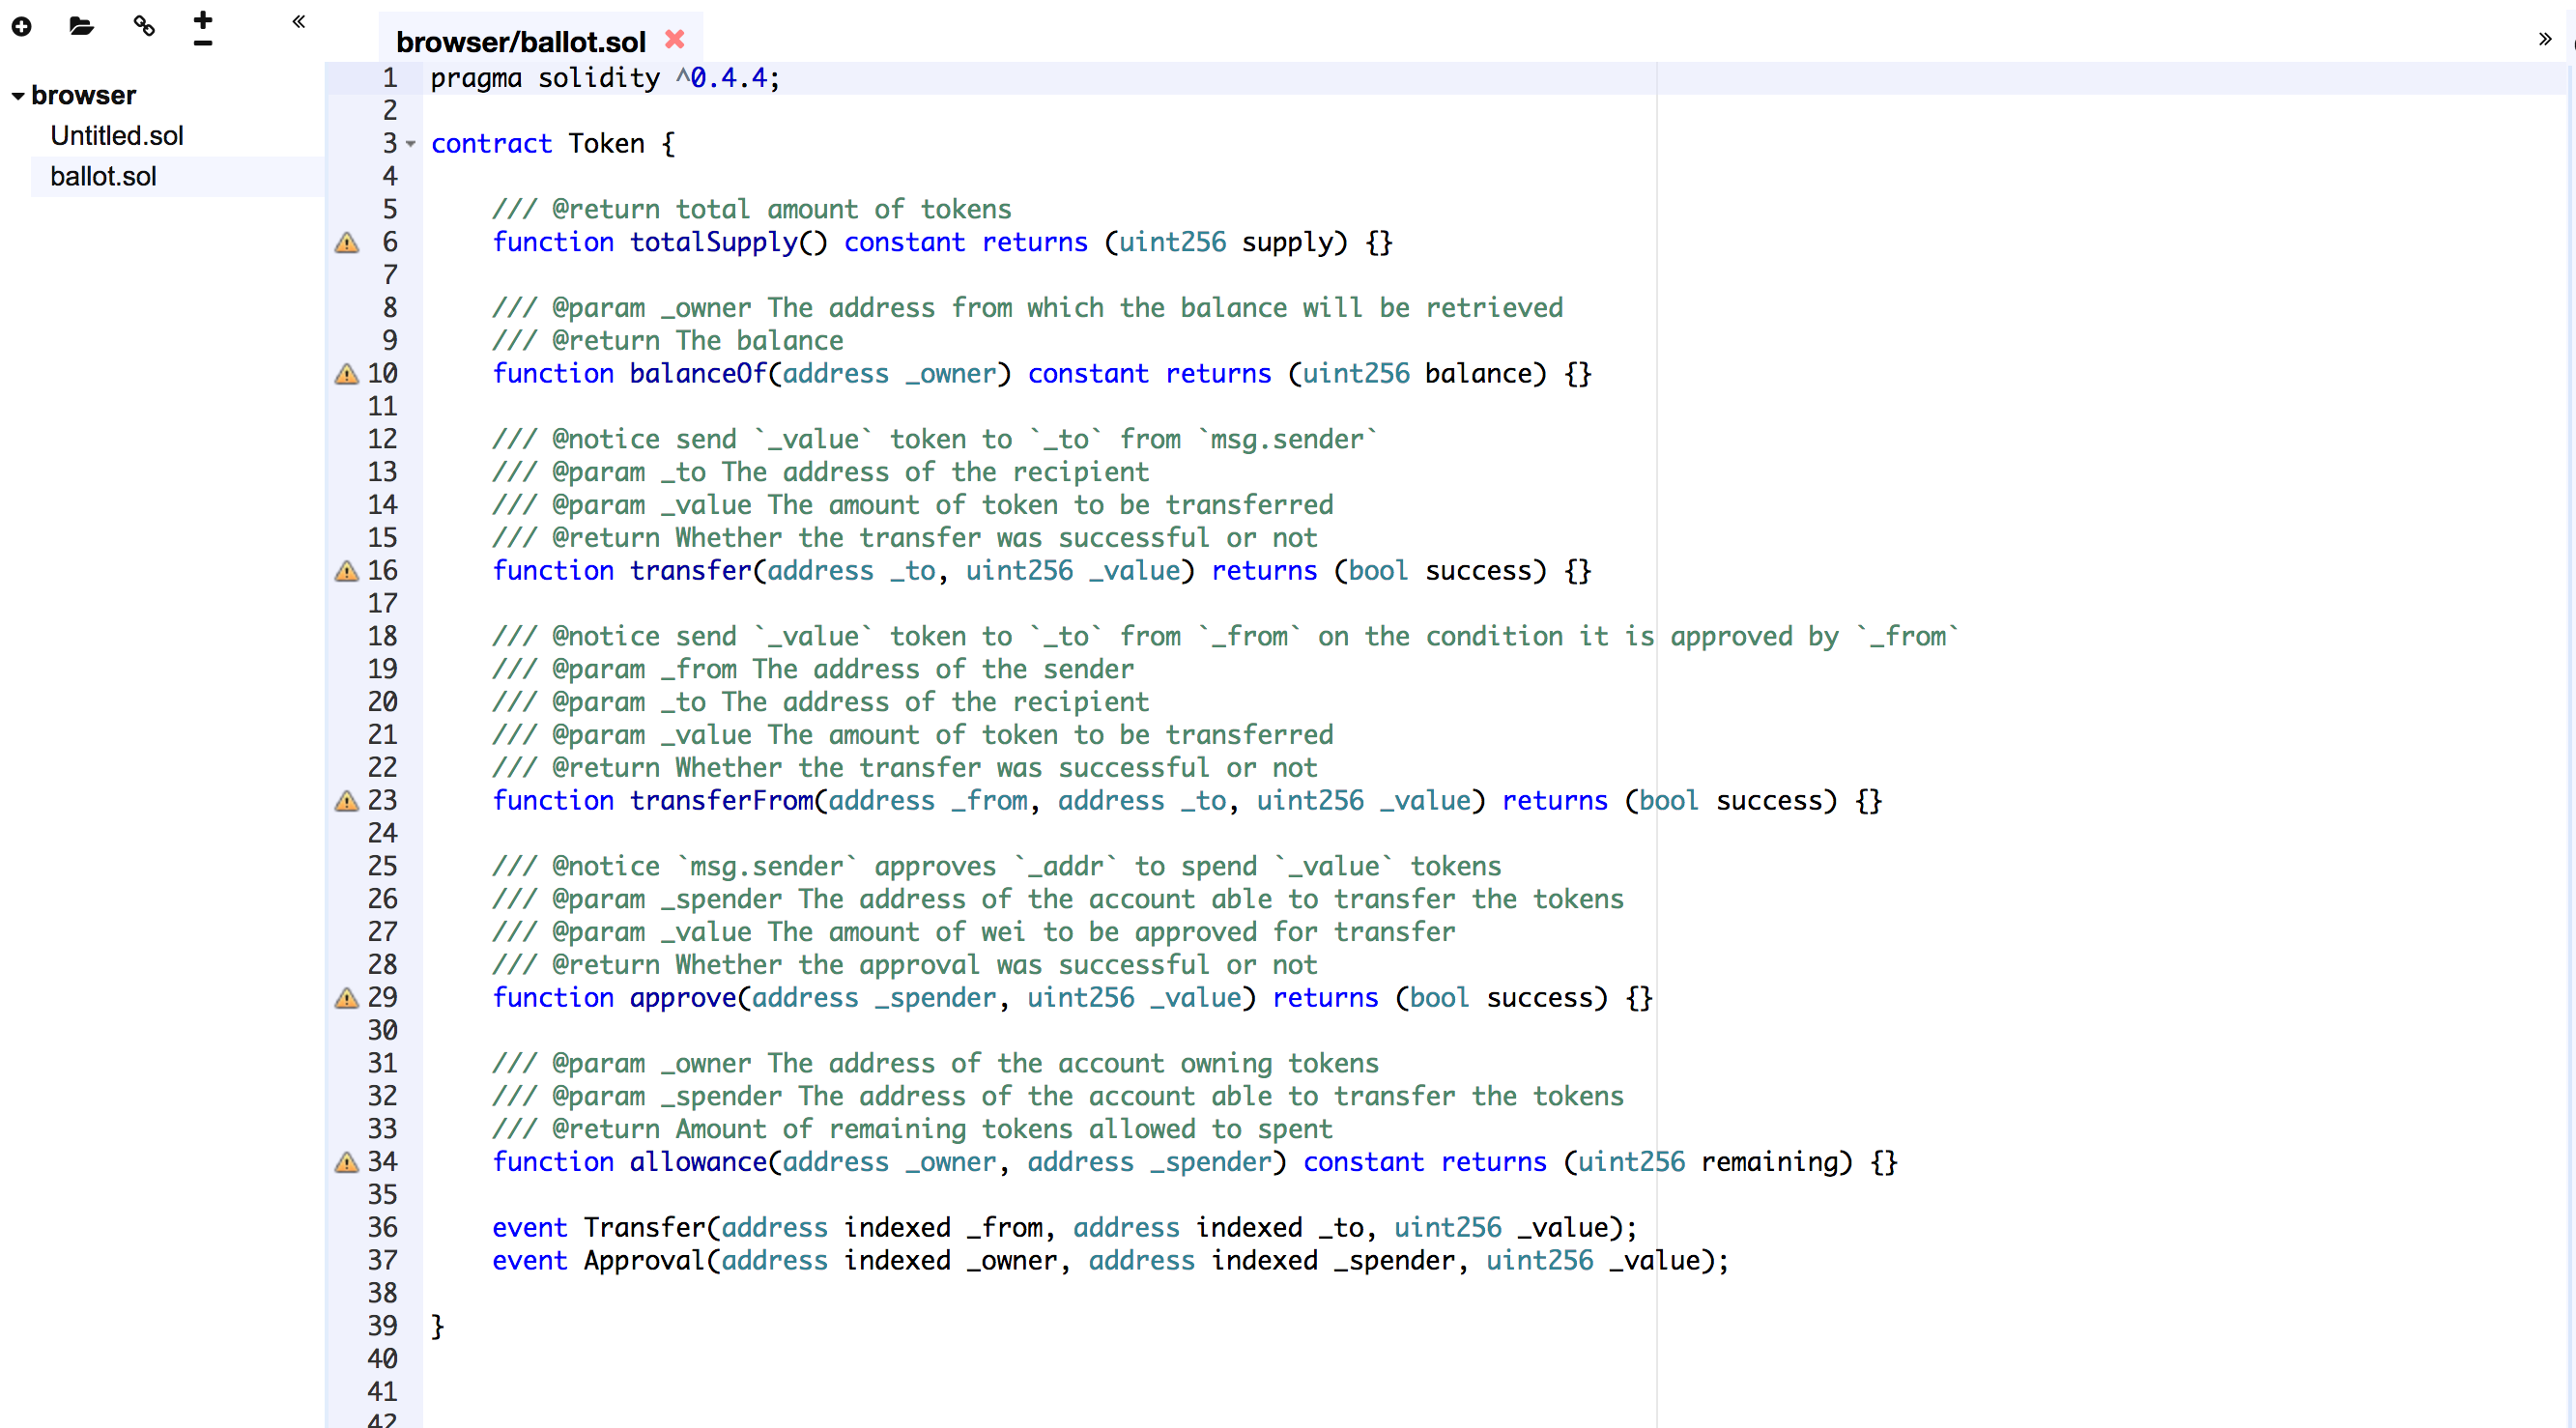
Copia e incolla il codice del contratto che hai modificato nella finestra principale.
Dovrà essere cosi:
Adesso vai alle impostazioni sulla destra e seleziona l’ultima versione del compilatore (non nightly) e togli la spunta a enable optimization.
Dovrà essere cosi:
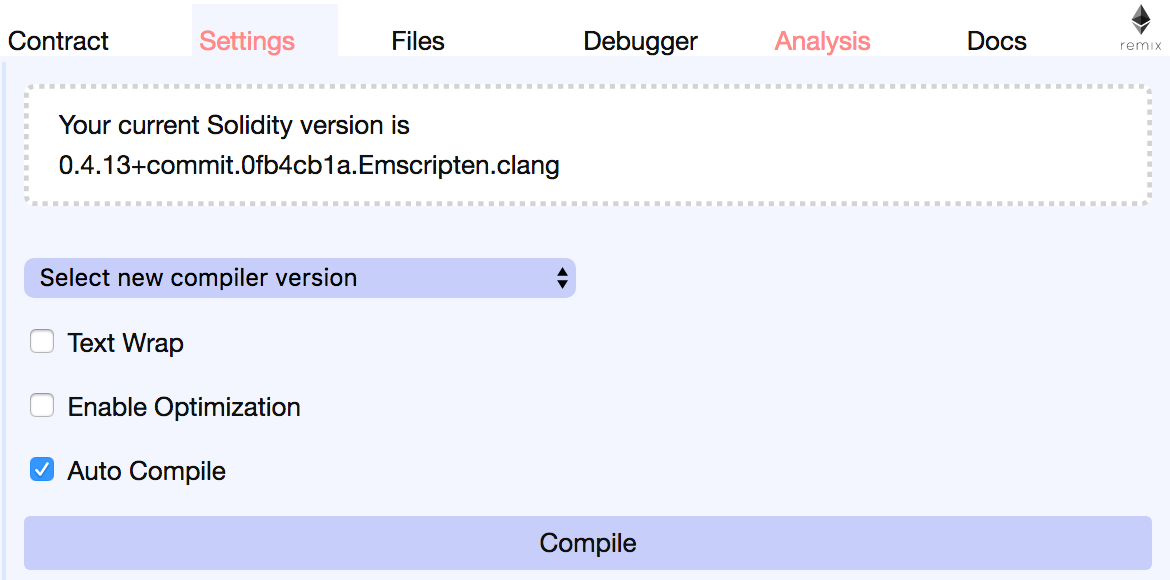
Tieni nota della solidity version nel compilatore. Ti servirà più avanti per verificare il contratto.
Adesso vai su contract e clicca create sotto il nome del token che hai creato.
Quindi clicca create sotto tutorialtoken.

Metamask ti chiederà quindi di cliccare submit per pagare per la transazione.
Ricorda che questa è la rete di prova Ropsten, quindi non è vero ether. Puoi controllare per essere sicuro di essere sul network di test su Metamask prima di cliccare submit.
Quando clicchi submit. Dirà contract pending su metamask. Quando è pronto clicca date e ti farà vedere la transazione su etherscan. In questo modo:

Se clicchi date ti porterà a questa schermata:
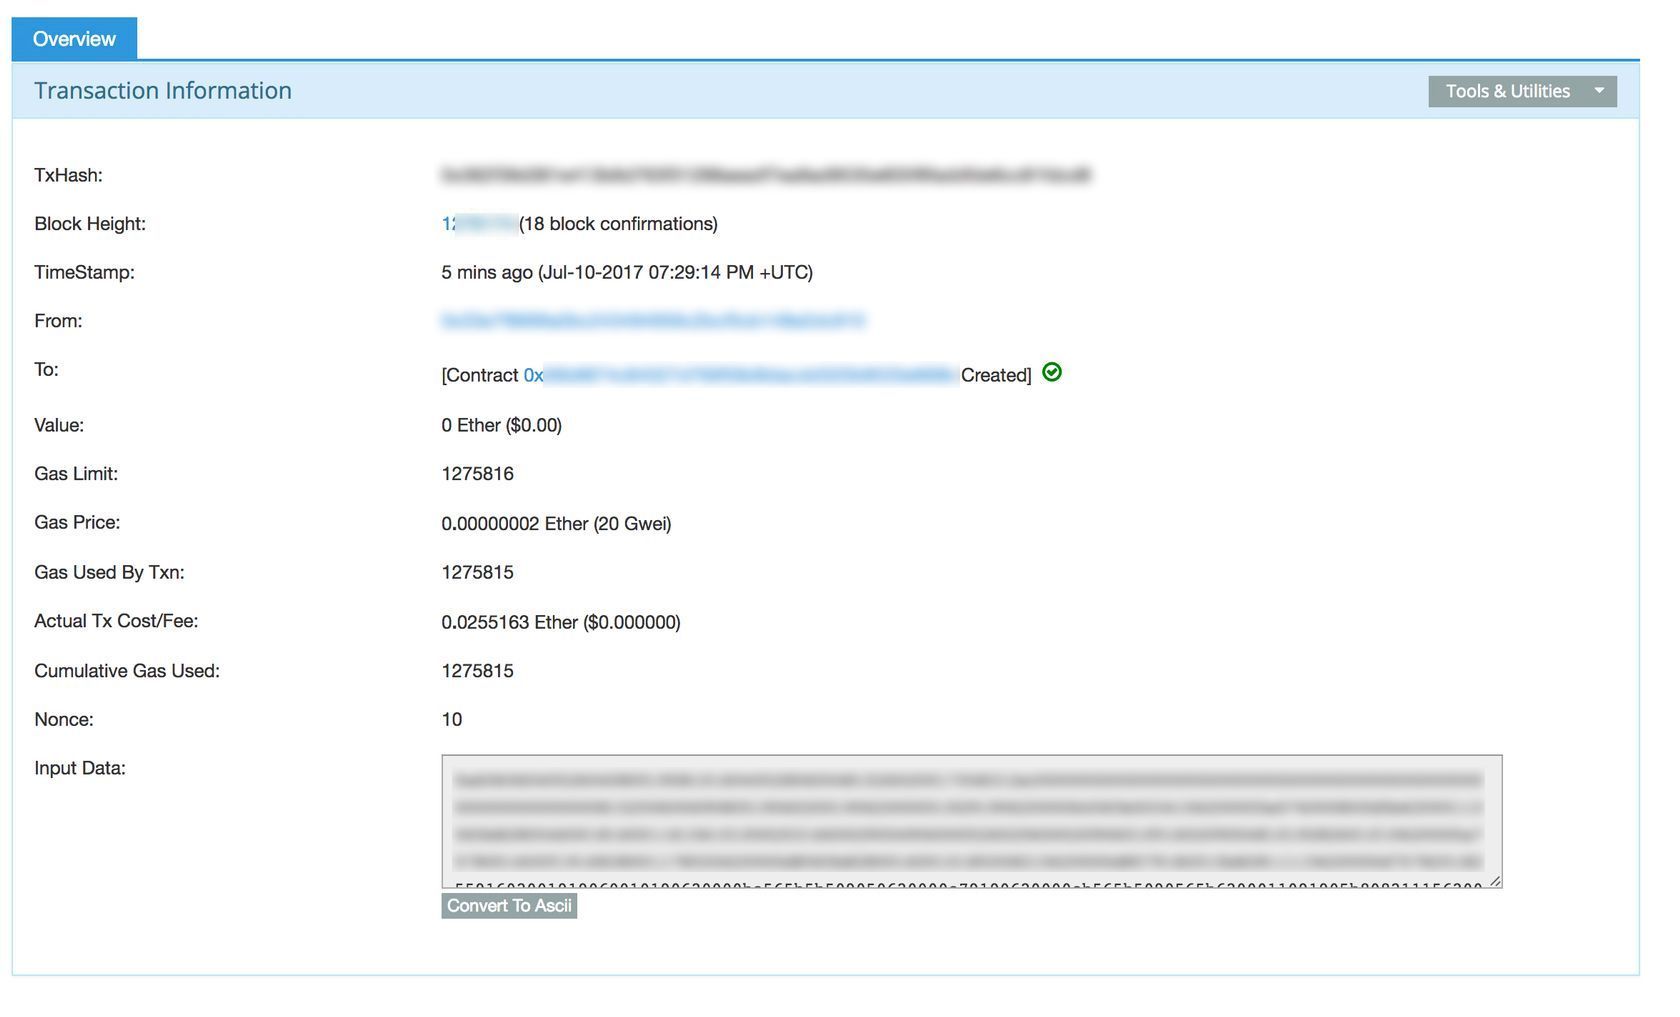
Se il processo ha funzionato allora è il momento di verificare il codice sorgente.
Se non ha funzionato devi tornare al codice sorgente e controllare se ci siano errori.
Step 3.5. controlla i custom token
Adesso vediamo se ha creato veramente i token e li ha inviati.

Copia l’indirizzo del contratto che è si trova nelle informazioni della transazione (vedi lo screenshot in alto)
Nel mio caso è 0x5xxxxxxxxxxxxxxxx.
Aggiungi quindi i numeri alla sezione token di metatask
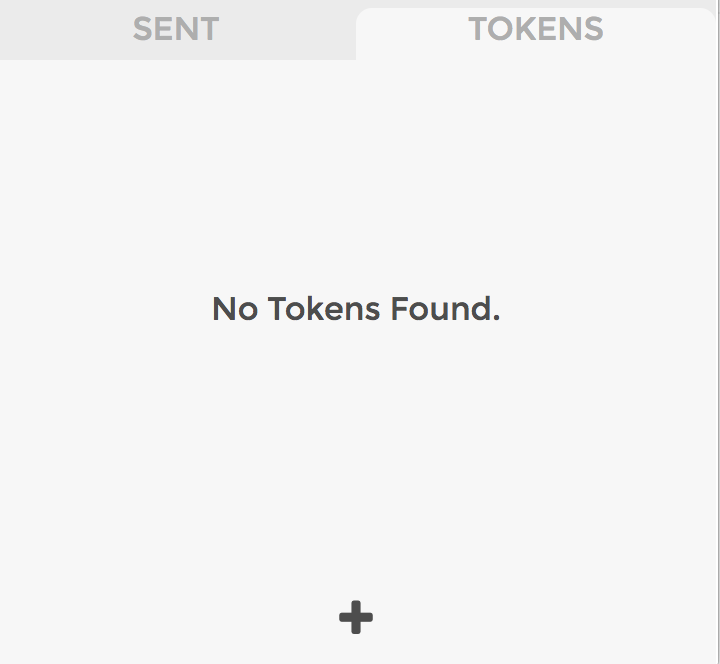
Quando clicchi sul +, puoi incollarlo e inserirà automaticamente le informazioni del token in questo modo:
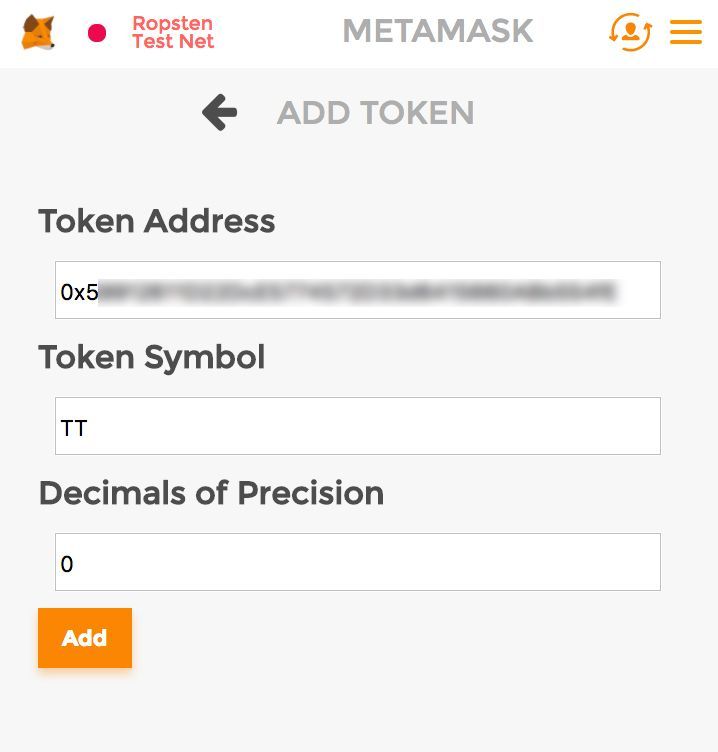
Clicchiamo add.
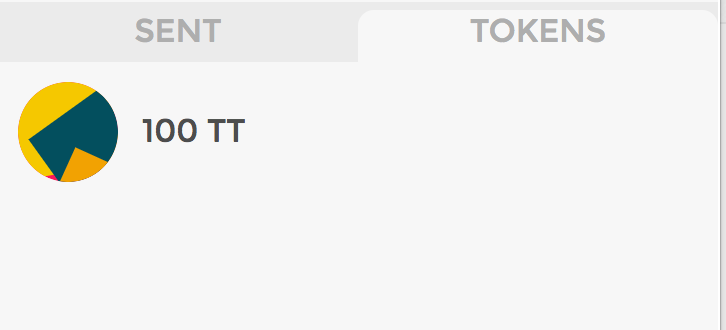
E poi apparirà il messaggio che dice che sono stati creati 100 token.
Poi potrai inviare quei token o venderli sul mercato se vuoi.
Step 4. Verifica il codice sorgente
Questo è importante per molte ragioni, ma soprattutto per verificare la validità del tuo token.
Non importa tecnicamente, e il tuo token è comunque usabile se non lo fai, ma è meglio verificare cosi le persone sanno che non stai facendo niente di losco.

Sulla schermata della transazione del passo precedente, clicca dove dice contract xxxxx created, è il contratto appena pubblicato.
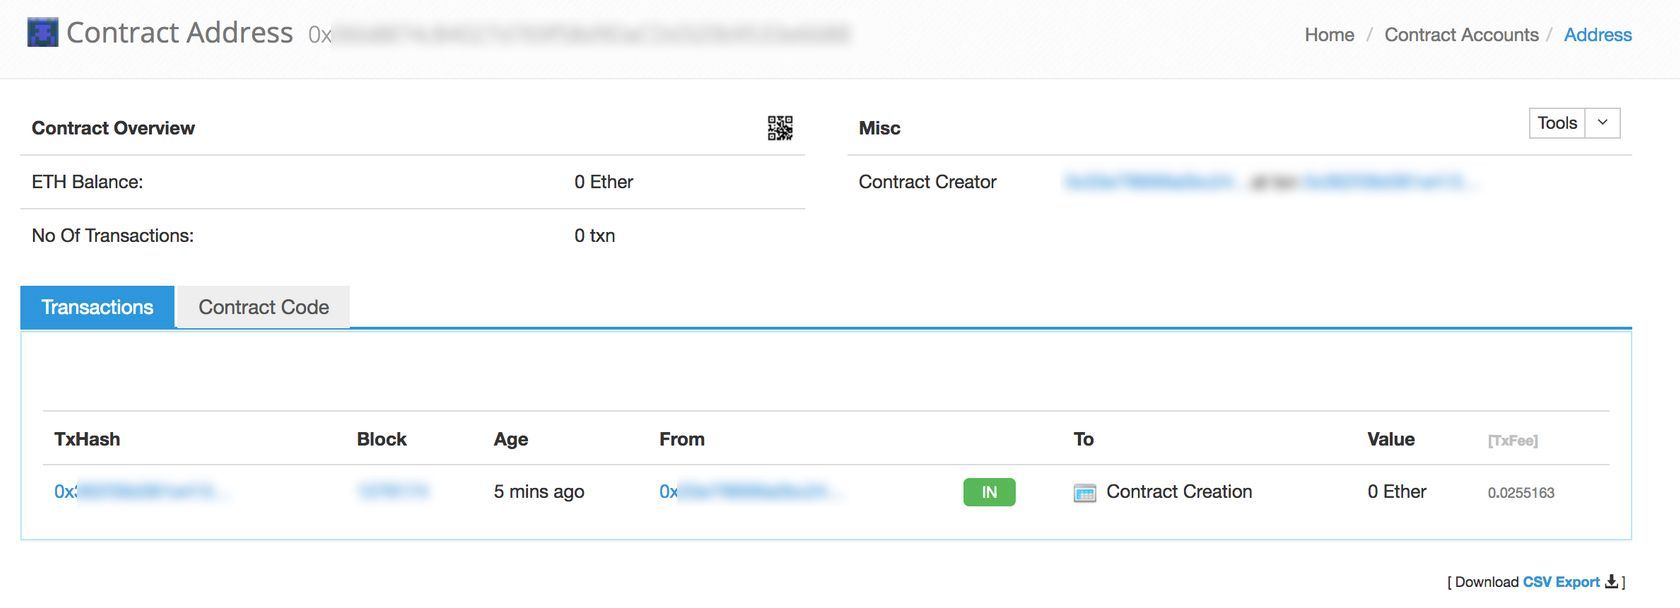
Poi clicca su contract code
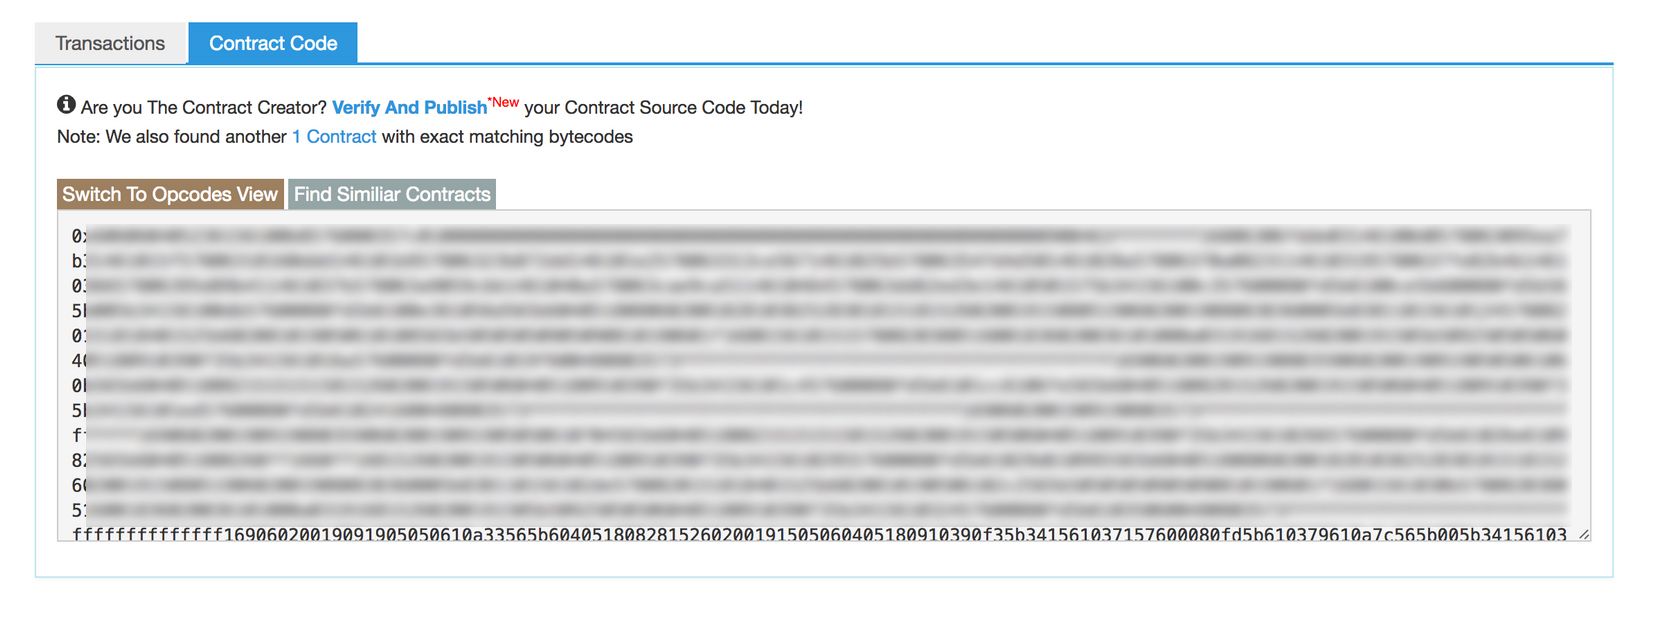
Clicca su verify and publish. E ti porterà a questa schermata.
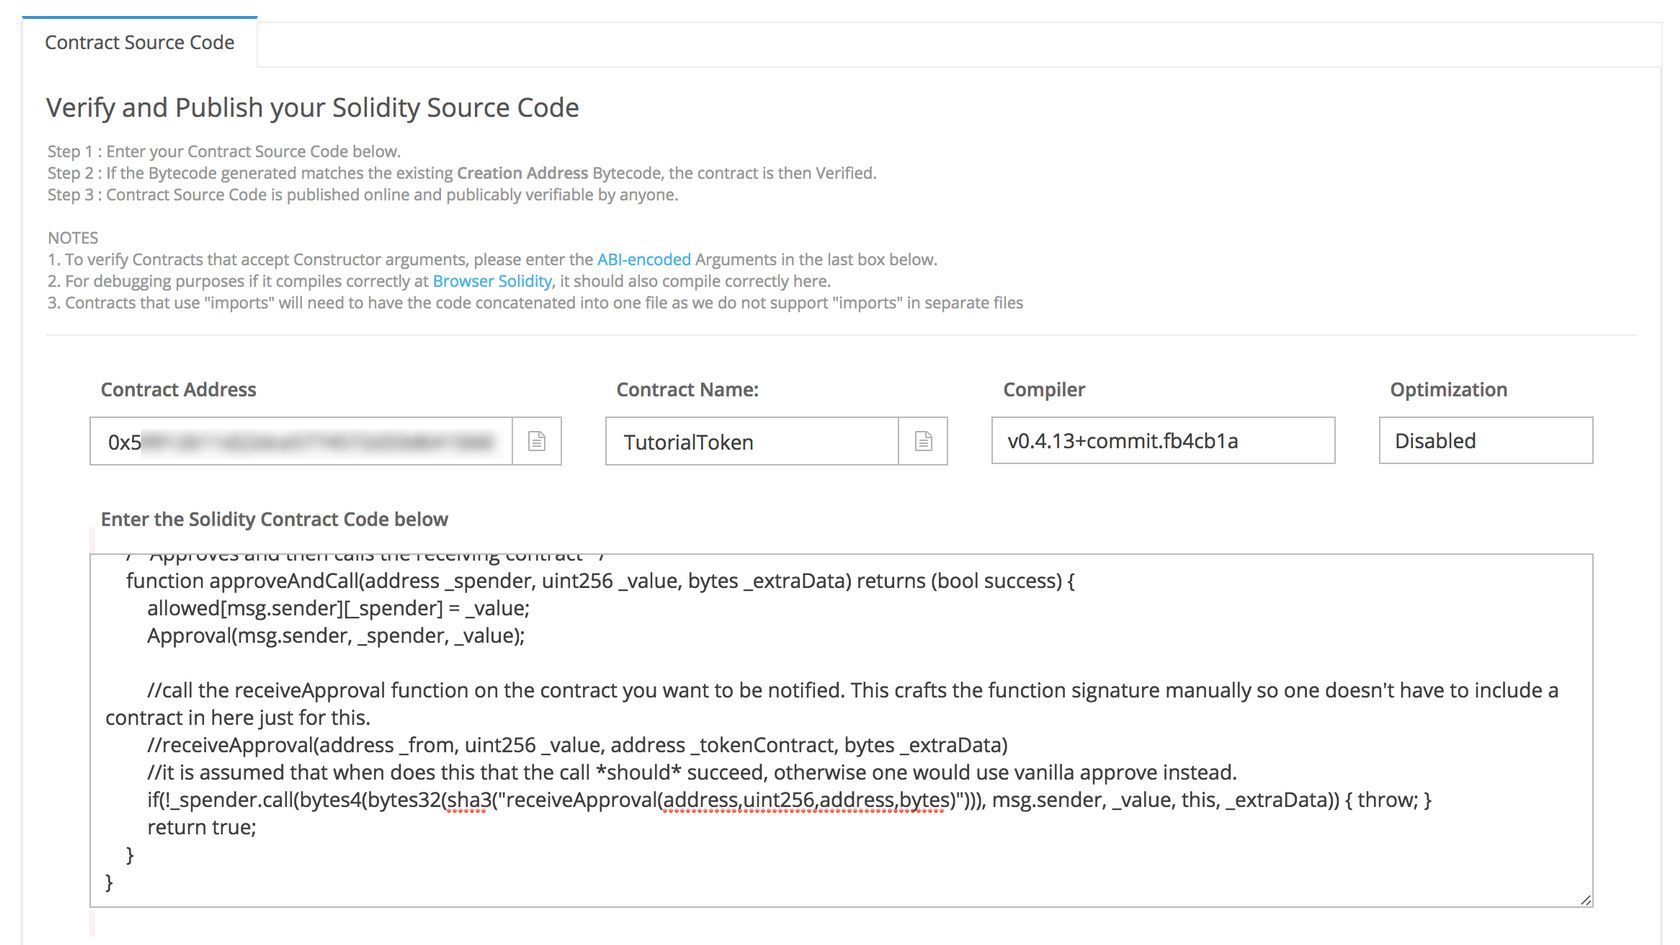
E’ qui che devi mettere le giuste impostazioni.
Il contract address sarà già riempito.
Su contract name assicurati di aver messo il nome della funzione che hai modificato per il tuo token personalizzato. Il default nel codice è ERC20Token, ma se lo rinomini ricordati di cambiarlo.
Per questo tutorial l’ho rinominato tutorialtoken.
Per compiler, scegli lo stesso compilatore usato nel solidity compiler. Oppure non potrai verificare il codice sorgente.
Assicurati che l’ottimizzazione sia disabilitata
Poi copia e incolla il codice dal compilatore direttamente nel campo contract code.
Clicca submit.
Se è andato tutto bene avrai una schermata cosi:

E questo significa che è stato verificato.
Se vai nella pagina contract address, Su contract source dirà si e che è stato verificato. In questo modo:

Se da errori, controlla i tuoi passi o fai un commento.
Step 5. Metterlo nella rete principale
Adesso che funziona tutto, è tempo di mettere i token nella rete principale e lasciare che anche le altre persone possano usarli.

Questa parte è semplice, fai i passi 3 e 4, ma invece di connetterlo al ropsten test network, devi connetterti alla rete principale. Assicurati che l’account di Metamask sia in Mainnet mode.
Devi caricare veri ether sul tuo contratto per farlo.
Conclusione
Adesso hai creato con successo un token sulla rete principale di Ethereum che altre persone possono usare. Può essere inviato e ricevuto da altre persone.
Per comprare e vendere, devi mettere il token su un’exchange. Ma per quello sarà dedicata un’altra guida.
Per adesso goditi il tuo token ethereum ERC20 appena creato e verificato.
Leggi anche: Come lanciare una ICO
